How To Measure A Roof For Shingles: Using 8 Simple Tools
If you’re preparing for a roof replacement or planning a DIY project, knowing how to measure a roof for shingles is one of the first steps to getting an accurate estimate of materials and labor. Proper measurement helps ensure you order the right amount of shingles, avoid waste, and get more precise quotes from contractors. Here are a few key ideas to keep in mind as you walk through this process:
- Roof measurements are needed to calculate square footage
- Mistakes can lead to overordering or underordering shingles
- Understanding pitch and slope affects how much material you need
- Using simple tools can make the process easier and safer
We’re proud to serve homeowners and business owners in Bloomington, IN, and nearby communities with roof measurement guidance, shingle installation, and more.
Why Accurate Roof Measurement Matters
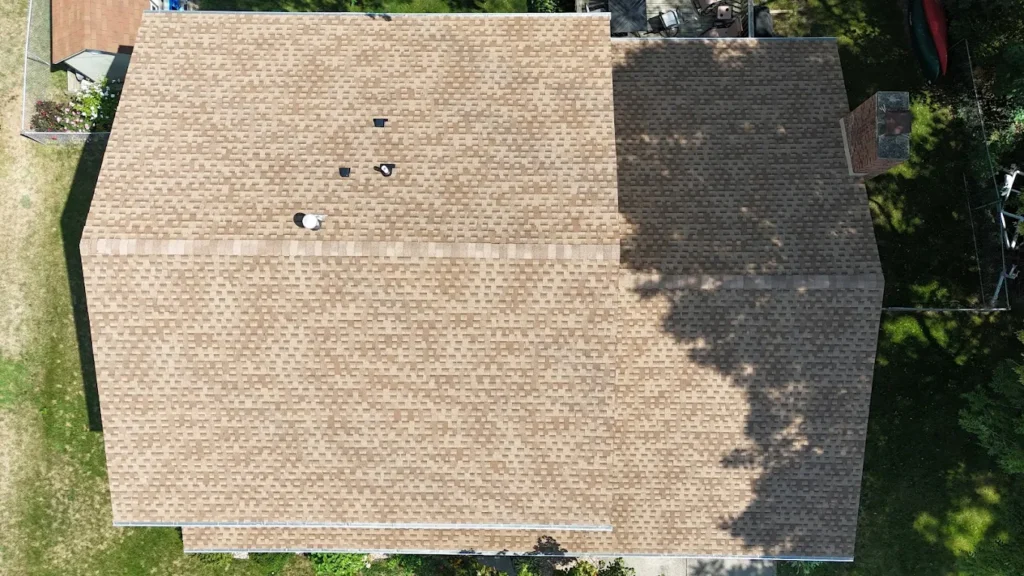
A roof’s surface area determines how many shingles you need. Roofing materials are typically sold by the square, which equals 100 square feet of roof surface. If you miscalculate, you could end up with too many shingles or come up short during installation. Inaccurate measurement can also skew your budget or delay your project schedule.
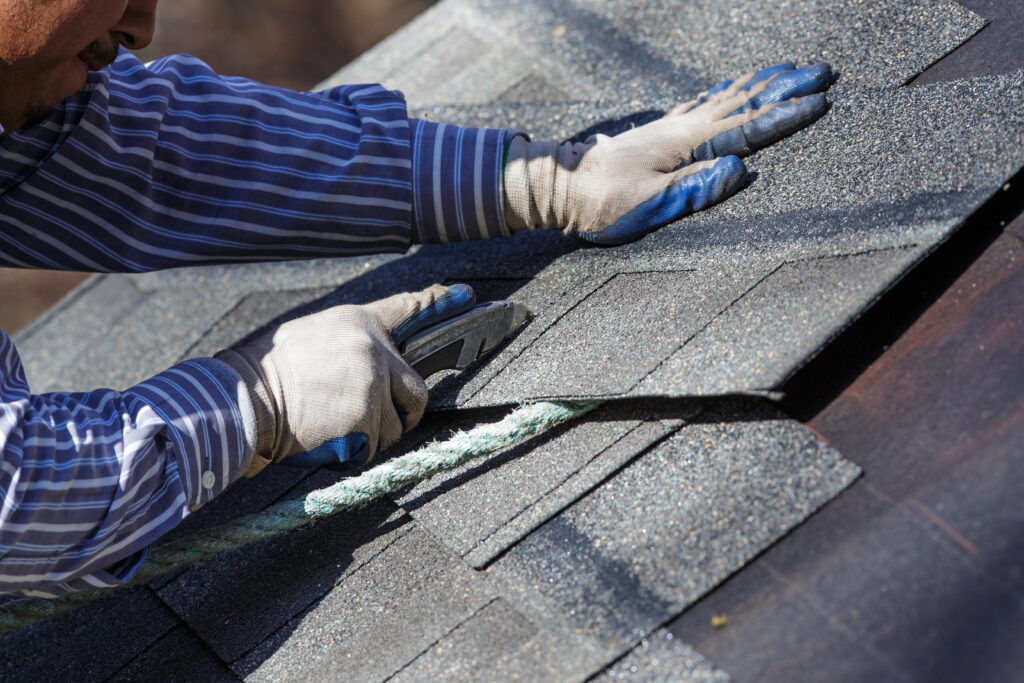
Accurate measuring also ensures contractors can price labor fairly. Roofing professionals use these numbers to estimate time on site, labor costs, and the amount of roofing underlayment, fasteners, flashing, and other roofing accessories required. That’s why even before ordering materials or scheduling a crew, you should take careful measurements or have an experienced professional do it.
8 Simple Tools You’ll Need
To measure a roof correctly, you don’t need complex equipment. Here are eight simple tools that help you get accurate numbers:
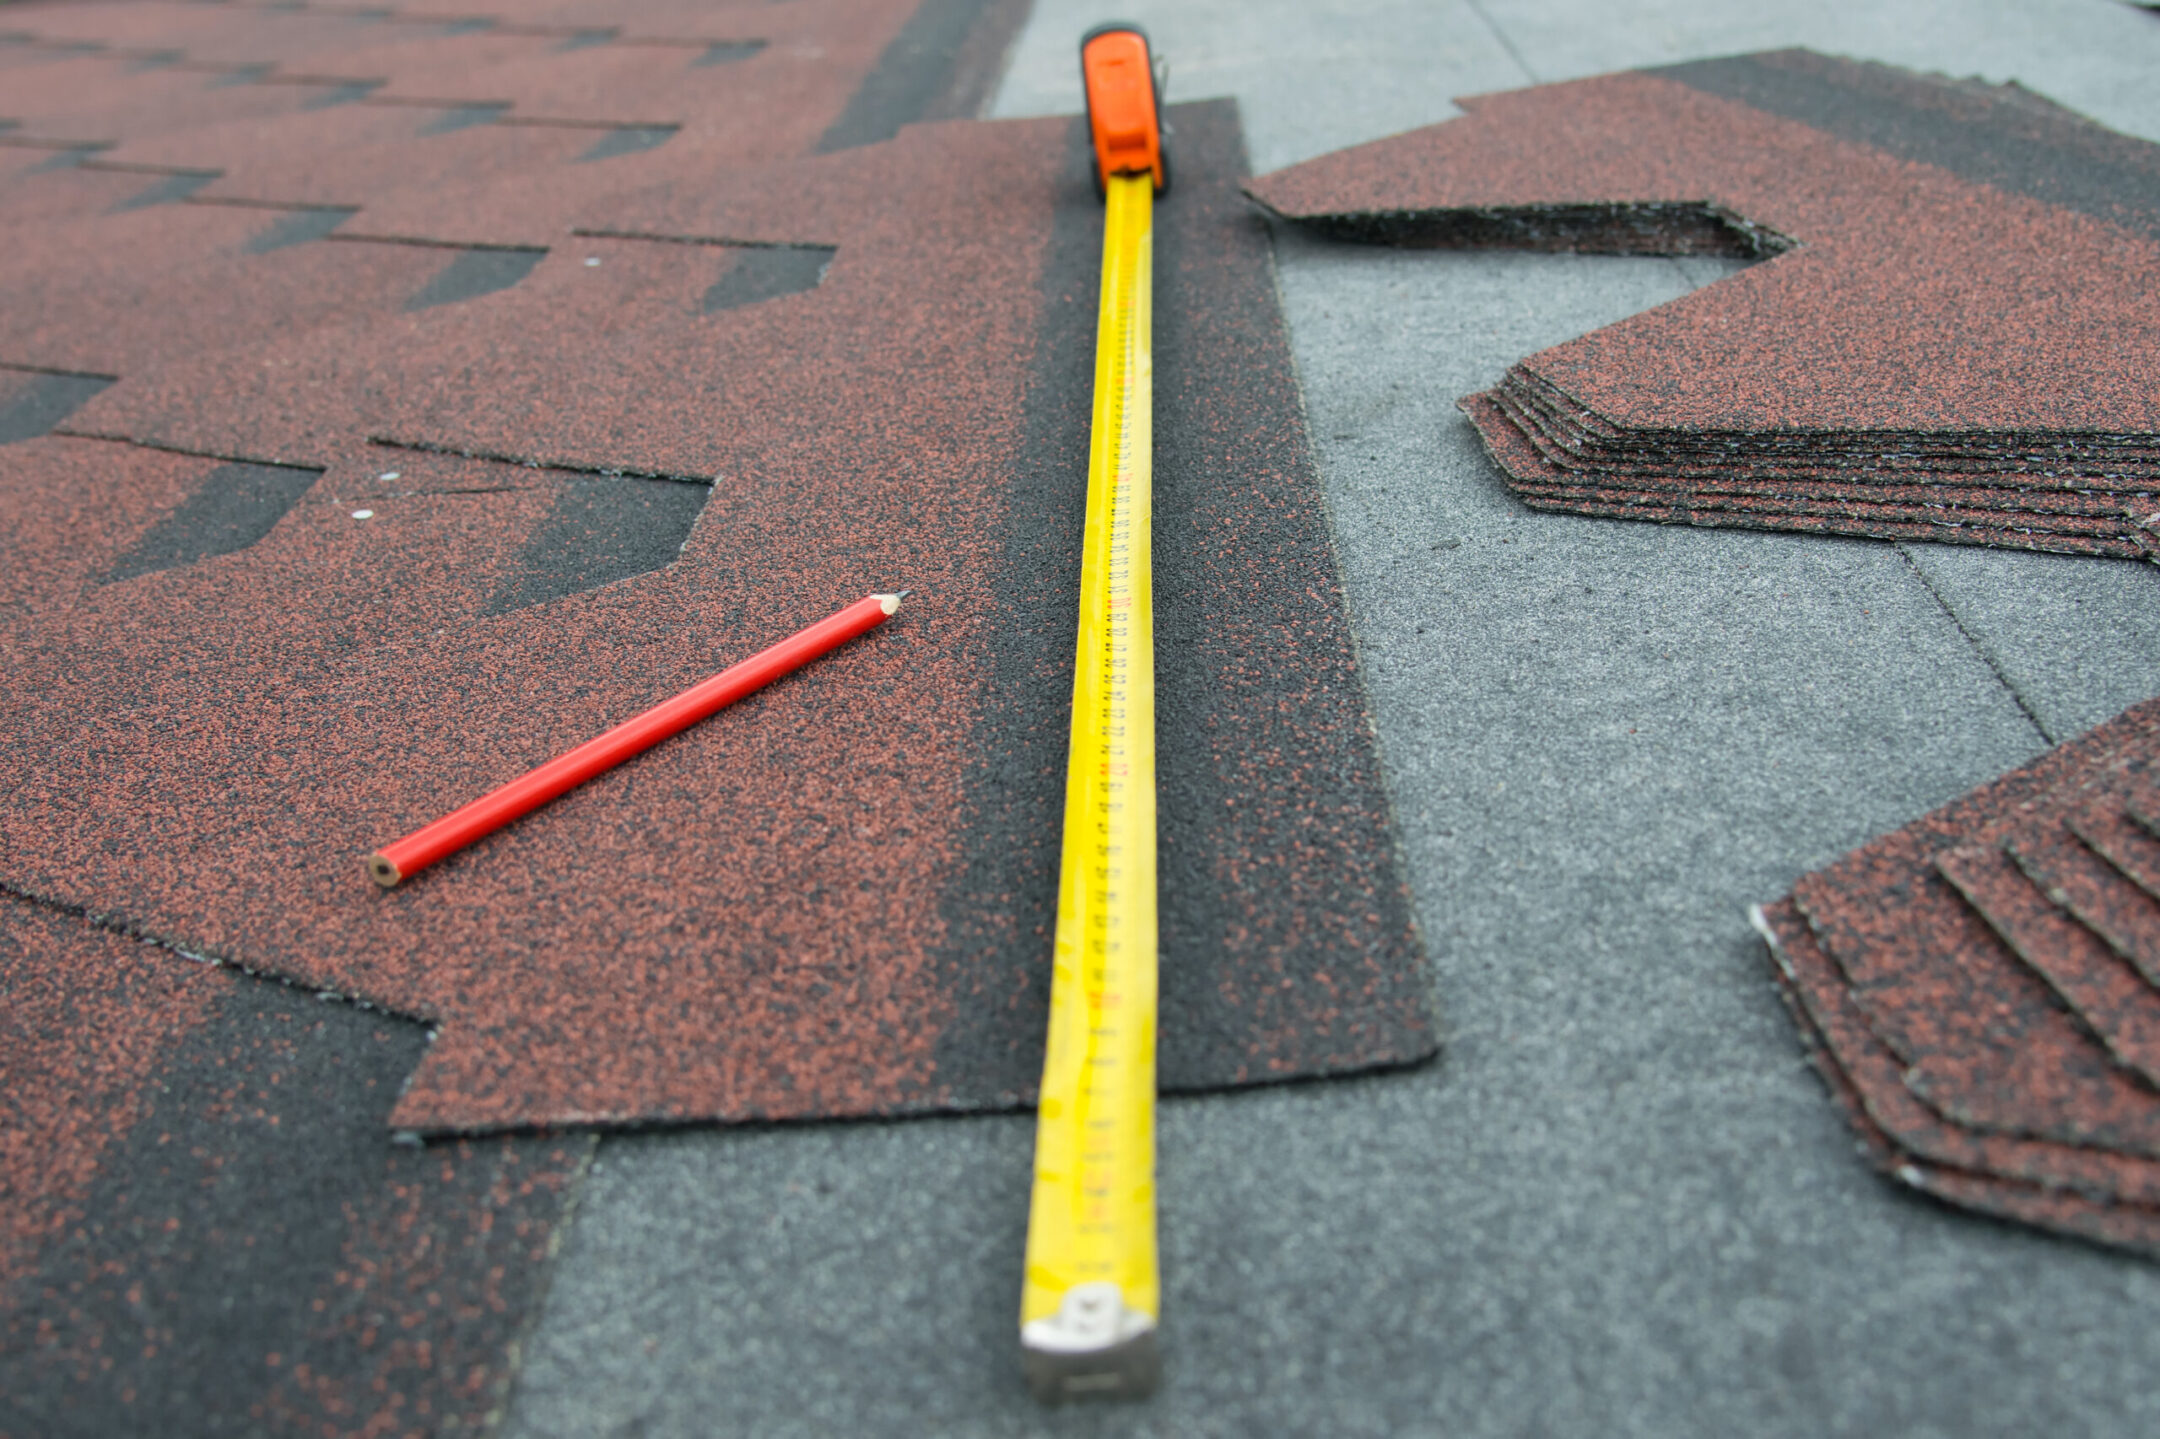
1. Tape Measure
A good tape measure helps you determine lengths and widths. For roof measurement, you’ll use it to find the dimensions of each roof plane.
- Range: Choose a tape measure long enough for large spans
- Accuracy: Look for clear markings and reliable locking
- Ease of use: A comfortable grip helps during extended measuring
- Portability: Easy to carry around the site or attic
2. Ladder
A sturdy ladder gives you access to eaves and fascia lines to measure run and rise. Use a ladder rated for outdoor work and place it on stable ground.
- Safety rating: Choose based on your house height
- Stability: Ensure level placement before climbing
- Height: Long enough to reach eave lines safely
- Grip feet: Prevent slipping on soil or concrete
3. Chalk Line
A chalk line helps mark straight reference lines on large roof planes, which is especially useful when measuring irregular areas.
- Long reach: Ideal for marking long distances
- Visibility: Chalk is easy to see on wood or decking
- Precision: Helps create clean reference points
- Repeat use: Good for layout tasks on site
4. Speed Square
A speed square is a simple triangular tool used to mark angles and check right angles. It’s especially useful for checking roof pitch and framing cuts.
- Angle marking: Helps mark common roof pitches
- Straight edge: Assists in marking perpendicular lines
- Tool integration: Works with tape measures easily
- Lightweight: Easy to carry in your tool belt
5. Framing Square
A framing square is larger than a speed square and is helpful when dealing with longer measurements or checking larger planes for squareness.
- Right angle checks: Ensures perpendicular lines
- Roof framing alignment: Works with rafters and edges
- Measurement baseline: Acts as a guide for longer spans
- Durability: Sturdy and dependable on rough job sites
6. Roof Pitch Gauge
A roof pitch gauge lets you determine the slope of the roof. Pitch affects how much material you need since steeper roofs have more surface area.
- Slope reading: Measures rise over run
- Easy to use: Clips or lies flat against decking
- Varied pitch types: Works for many common roof slopes
- Quick reference: Helps when estimating material needs
7. Calculator
Once measurements are taken, a calculator helps convert your numbers into total roof area and squares.
- Math assistance: Adds precision to totals
- Square conversions: Quickly finds material units
- On site use: Portable enough for ladder or attic
- Error checking: Helps verify manual calculations
8. Pencil and Notepad
Recording your measurements as you go prevents mistakes and lets you organize your roof planes clearly.
- Write measurements: Record length, width, and pitch
- Label planes: Note each roof section separately
- Sketch roof shape: Draw a simple top view
- Reference later: Use notes when ordering materials
Common Measurement Mistakes to Avoid
Even with the right tools, homeowners often overlook important details that affect material estimates. Avoiding these common mistakes helps ensure your calculations are accurate and your shingle order matches your roof’s true size.
Overlooking Roof Slope
Many people measure the length and width of their house and assume that equals the roof size. However, roof slope increases total surface area beyond what it looks like from the ground. A steeper gable roof or pitched structure requires more roofing shingles because the actual surface area is larger than the footprint of the home. Failing to account for pitch can leave you short on materials and disrupt your installation schedule.
Ignoring Overhangs and Roof Features
Eaves, overhangs, ridges, valleys, and dormers all add complexity and surface area. Homeowners sometimes forget to include these details in their calculations. Chimneys, skylights, vent pipes, and flashing areas also affect material needs. Overlooking these elements leads to underestimating the number of bundles required, especially on more complex roof designs, including hip or flat roof sections.
Relying on Rough Estimates
Guessing based on square footage of the house or relying on outdated blueprints can result in costly errors. Homes often have additions, porch extensions, or structural changes that alter roof dimensions. Measuring directly on site and double checking your numbers ensures that your calculations reflect the current structure rather than assumptions. It’s also important to inspect the roof deck condition to avoid surprises during installation.
FAQ: Measuring a Roof for Shingles
Roof measurements don’t need to be complicated, but a few common questions come up often; these quick answers can help clarify the process and give you more confidence moving forward.
- How many shingles are in a roofing square?
One roofing square equals 100 square feet and typically requires three bundles of architectural shingles, depending on the manufacturer. - Do I need to measure pitch separately?
Yes. Roof pitch changes the actual surface area and directly affects how many shingles you need. - Should I add extra shingles for waste?
It is recommended to add 10 to 15 percent extra to account for starter strips, ridge caps, and trimming around roof features. - Can I measure from the attic instead of climbing on the roof?
In many cases, yes. Measuring the attic floor and determining pitch can provide safe and accurate results. - Is professional measurement worth it?
For complex or steep roofs, professional measurement ensures precision and prevents ordering mistakes.
Why Homeowners in Bloomington Trust One Way Roofing
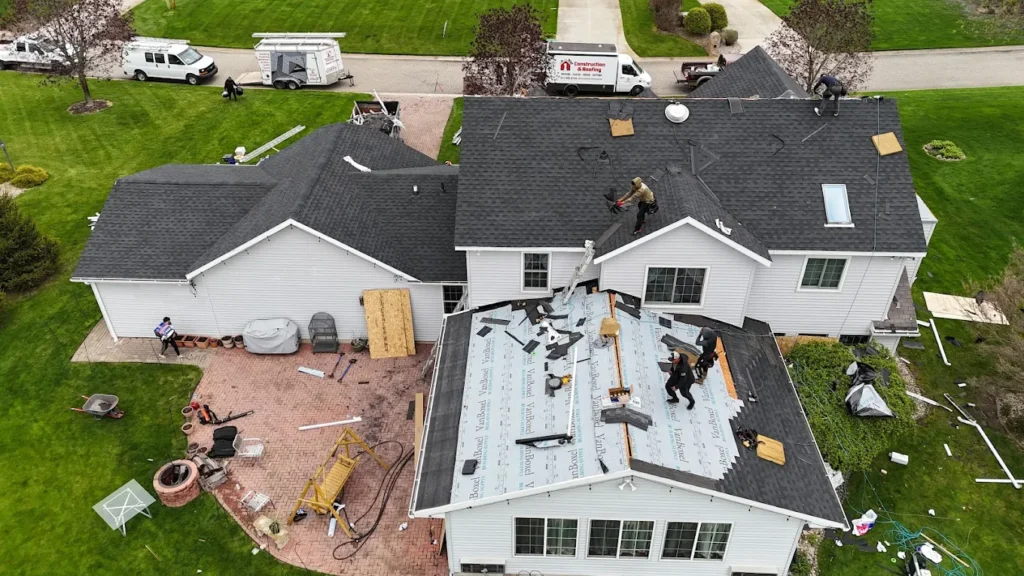
At One Way Roofing, we help homeowners understand every step of roof preparation, including accurate measurement for shingles. Our team provides detailed inspections, precise material calculations, and expert installation to ensure your project runs smoothly from start to finish.
If you’re planning a roof replacement or need help confirming total square footage, contact One Way Roofing today to schedule a free consultation. We’ll make sure your roofing project starts with the right numbers and ends with long lasting results.
