How To Install Drip Edge On Your Roof? (Expert Tips)
Adding a drip edge to your roofing system is one of the best ways to extend the life of your roof and protect your home from water damage. This simple but powerful component directs water away from the fascia and into the gutters, preventing rot, leaks, and costly repairs down the road. Whether you are tackling a DIY project or preparing to hire a professional, knowing how to install drip edge properly can make a huge difference in your roof’s performance.
- Protection: A drip edge keeps water from creeping under shingles and damaging your roof deck.
- Appearance: It gives your roofline a clean, finished look.
- Longevity: Proper installation helps your shingles and gutters last longer.
- Prevention: Stops fascia boards and soffits from rotting due to trapped moisture.
Why a Drip Edge Matters

Homeowners often overlook small details when it comes to roofing, but a drip edge is not optional. It’s a critical safeguard against water intrusion. Without it, rainwater can sneak under the shingles, seep into the roof decking, and cause rot that spreads quickly. Over time, this weakens the structural integrity of your roof and increases repair costs.
In areas like Dover, DE, frequent rainstorms put roofs to the test. That extra barrier of protection helps redirect water into the gutters, even during heavy downpours. A drip edge also plays a role in winter weather by helping prevent ice dams, which can force water back under shingles. By controlling runoff year-round, this small piece of flashing has an outsized impact on roof health and long-term durability.
Tools and Materials You’ll Need
Before starting installation, make sure you have the right roofing tools and materials on hand. This helps avoid delays and ensures a smooth process. Having everything ready also reduces mistakes, since you won’t be rushing to find the right piece of equipment halfway through the job. Careful preparation is the key to a professional-looking finish.
- Drip edge flashing: Aluminum or galvanized steel strips that fit along the roof’s edge.
- Roofing nails: Galvanized nails that resist rust and corrosion.
- Hammer or nail gun: For securing the drip edge firmly in place.
- Metal snips: To cut flashing pieces to the proper length.
- Measuring tape: Ensures accurate alignment and fit.
- Chalk line: Keeps your installation straight along the roofline.
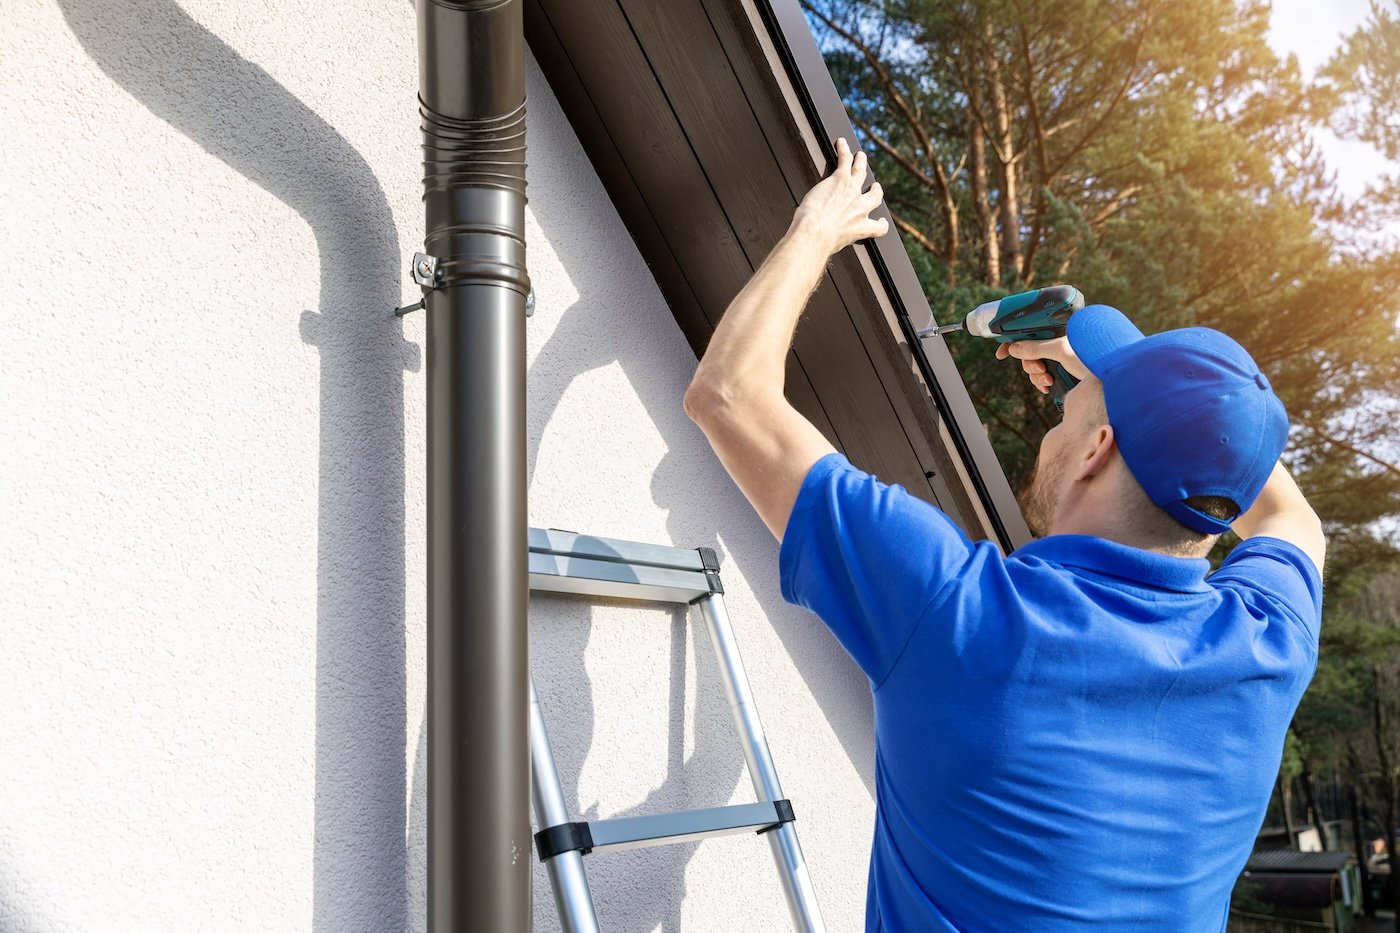
Step-By-Step: How To Install Drip Edge

Now, let’s break down the process so you can see exactly how a drip edge should be installed. These steps apply whether you’re starting fresh on a new roof or replacing an old drip edge.
Step 1: Start at the Eaves
Always begin by installing drip edge along the eaves (the lower edges of your roof). The bottom flange of the drip edge should rest against the fascia, while the top extends under the roofing underlayment. This setup allows water to flow directly into the gutter.
Step 2: Overlap Each Piece
When installing, overlap each piece of drip edge by at least two inches. This overlap prevents gaps where water could sneak through. Secure each section with galvanized roofing nails, spaced every 12 to 16 inches along the edge.
Step 3: Install Along the Rakes
For the rake edges (the sloped sides of your roof), the drip edge should be installed over the underlayment instead of beneath it. This creates a watertight seal that directs runoff properly without letting water sneak under the shingles.
Step 4: Nail Securely but Avoid Overdriving
Nails should be snug, but not so tight that they bend the metal flashing. Overdriving nails can warp the drip edge, creating small gaps where water may collect and cause damage over time.
Step 5: Seal Corners and Joints
At the roof corners, cut and bend the drip edge neatly to fit snugly. You may need to use roofing cement for added protection in vulnerable spots. Taking extra care at joints ensures a professional finish.
5 Common Mistakes to Avoid
Even small errors during installation can cause big problems later. Here are the most frequent mistakes homeowners make when installing a drip edge:
- Improper placement: Installing over shingles instead of under them at the eaves.
- No overlap: Leaving gaps between pieces that allow water intrusion.
- Incorrect nail spacing: Using too few nails causes the drip edge to loosen over time.
- Skipping corners: Not sealing or cutting corners properly leads to weak spots.
- Using the wrong materials: Lightweight or non-galvanized metals rust quickly and fail.
Professional vs. DIY Installation

Some homeowners feel comfortable installing a drip edge on their own, but many prefer leaving it to professionals. Roof edges can be tricky to work on, especially on steep slopes or multi-story homes. Experienced roofers not only have the tools and safety gear, but they also ensure correct installation that meets local building codes.
It’s also worth remembering that a poorly installed drip edge can cause more harm than good. If flashing is bent, nailed too loosely, or cut incorrectly, it can allow water to seep behind gutters or pool in hidden areas. Over time, this creates rot, mold growth, and costly structural issues. Hiring a roofing team gives you peace of mind, knowing that small details won’t be overlooked and your roof is fully protected from the elements.
If you live in Dover, trusting a roofing expert means peace of mind that your roof will stand strong through heavy storms. We’re proud to serve home and business owners in Dover, DE, and nearby cities with drip edge installation and more, keeping properties secure and well-protected year-round.
Keep Your Roof Protected with One Way Roofing
At One Way Roofing, we know every detail matters when it comes to your roof. Our experienced team ensures your drip edge is installed correctly, protecting your home from hidden water damage and unexpected roof leak repair cost. With a commitment to quality and customer satisfaction, we make sure your roof lasts longer and looks great.
Don’t wait until water damage becomes a problem. Contact One Way Roofing today for a free inspection and see why homeowners trust us for expert drip edge installation and complete roofing solutions.
